Winter-Proof Your Deck for the Cold Season
Winter is coming, and with it, snow, ice, and cold temperatures that can challenge even the most durable outdoor spaces. A little preparation can go a long way to keep your deck in great shape throughout the snowy season. Here’s your guide on how to winterize your deck to protect it from winter wear and tear and ensure it’s ready for cozy gatherings and warm-weather activities once spring returns.
1. Give Your Deck a Good Clean
A clean deck is a healthy deck. Thorough cleaning is essential in preparing your deck for winter. Dirt, leaves, and grime can trap moisture, which is a recipe for mold and mildew come spring.
- Start by sweeping your deck to remove loose dirt and debris.
- Use a gentle, deck-safe cleaner to scrub the boards, focusing on areas with stains or stuck-on debris like tree sap.
- Rinse thoroughly with water. If you choose to use high-pressure washers, be sure to check manufacturers’ guidelines for the recommended PSI.
- Allow your deck to dry completely before moving to the next step.
2. Check for Damage and Make Repairs
Take a close look at your deck to identify any areas that might need a little TLC before the winter weather sets in. Addressing minor issues now can prevent larger problems down the road.
- Inspect boards for cracks, splinters, or loose nails.
- Replace any damaged boards to keep your deck safe and looking good.
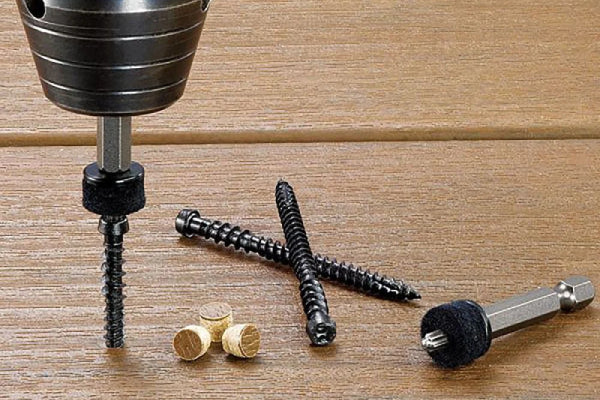
- Tighten screws and nails to prevent shifting caused by freezing and thawing.
- Check railings and stairs, ensuring everything is secure and stable.
3. Apply a Protective Sealant (for Wood Decks)
If you have a wood deck, sealing it is one of the most important steps in winterizing. Sealants help protect against moisture, which is especially important if your area sees heavy snow or rain. Wooden decking is particularly vulnerable during winter conditions, with risks of water pooling and the damaging effects of snow and ice. Therefore, it is crucial to remove snow promptly and ensure the deck is properly sealed to prevent moisture damage.
- Choose a high-quality sealant designed for outdoor wood.
- Apply it evenly across the deck’s surface, using a brush or roller for a smooth finish.
- Be sure to seal all exposed wood, including railings and stairs.
- Allow time for the sealant to cure fully, which typically takes a day or two in dry weatherConsider using WOOD Rx Ultra Transparent Sealer & Stain—a premium choice designed for outdoor wood. Its ultra-transparent finish enhances the natural beauty of your deck while providing top-notch moisture protection.
4. Protect Your Deck from Snow and Ice
Keeping snow and ice off your deck is essential for preventing moisture damage and avoiding accidents. Here are some key tips for removing snow and ice safely:
-
Use A Broom for Light Snow
For small amounts of snow, a broom is a simple, effective tool that won’t harm your deck surface. -
Choose the Right Shovel
Avoid metal shovels, as they can scratch or gouge composite decking. Instead, use a plastic snow shovel with a non-abrasive edge to clear heavier snow safely. -
Skip Standard Rock Salt and Harmful Ice Melts
Avoid using regular rock salt, which can harm composite decking. Instead, opt for calcium chloride ice melt. It's effective at melting ice and safe for both composite decking and wood decking, as it won't cause damage or discoloration. Look for pet-safe and plant-safe options for added peace of mind.
💡 Tip: For a DIY ice melt solution, mix two parts vinegar, one part water, and a small amount of dish soap.
-
Avoid Using Sand
While sand can provide traction on icy surfaces, it is abrasive and may scratch or dull the surface of your composite deck boards. -
Handle Ice With Care
If ice forms, resist the urge to chip or pry it off—this can damage the deck. Instead, gently melt the ice with warm water to avoid causing any harm. -
Remove Icicles Safely
Icicles forming above your deck can drip water that freezes on the surface, creating a slip hazard. Safely remove icicles to minimize this risk and keep your deck clear of ice.
5. Store Outdoor Furniture and Accessories
Winter weather can be harsh on outdoor furniture, cushions, and accessories. Taking time to store these items properly will save you money and hassle when it’s time to use them again.
- Move lightweight furniture to a garage, shed, or basement to prevent it from blowing away in winter storms.
- For heavier items, use furniture covers to protect them from snow and ice.
- Store fabric cushions indoors to avoid moisture damage.
- Remove potted plants and decorative items from the deck surface, as trapped moisture under pots can lead to stains or mildew growth.
6. Install Gutter Guards and Downspout Extensions
One often overlooked aspect of winterizing your deck is managing water flow from your gutters. Poor drainage can lead to water pooling on your deck, which increases the risk of damage.
- Install gutter guards to prevent leaves and debris from clogging your gutters.
- Add downspout extensions to direct water away from your deck, reducing moisture buildup around the base.
These small adjustments help ensure that melting snow drains properly, keeping water off your deck.
7. Choose the Best Deck Material for Snowy Climates
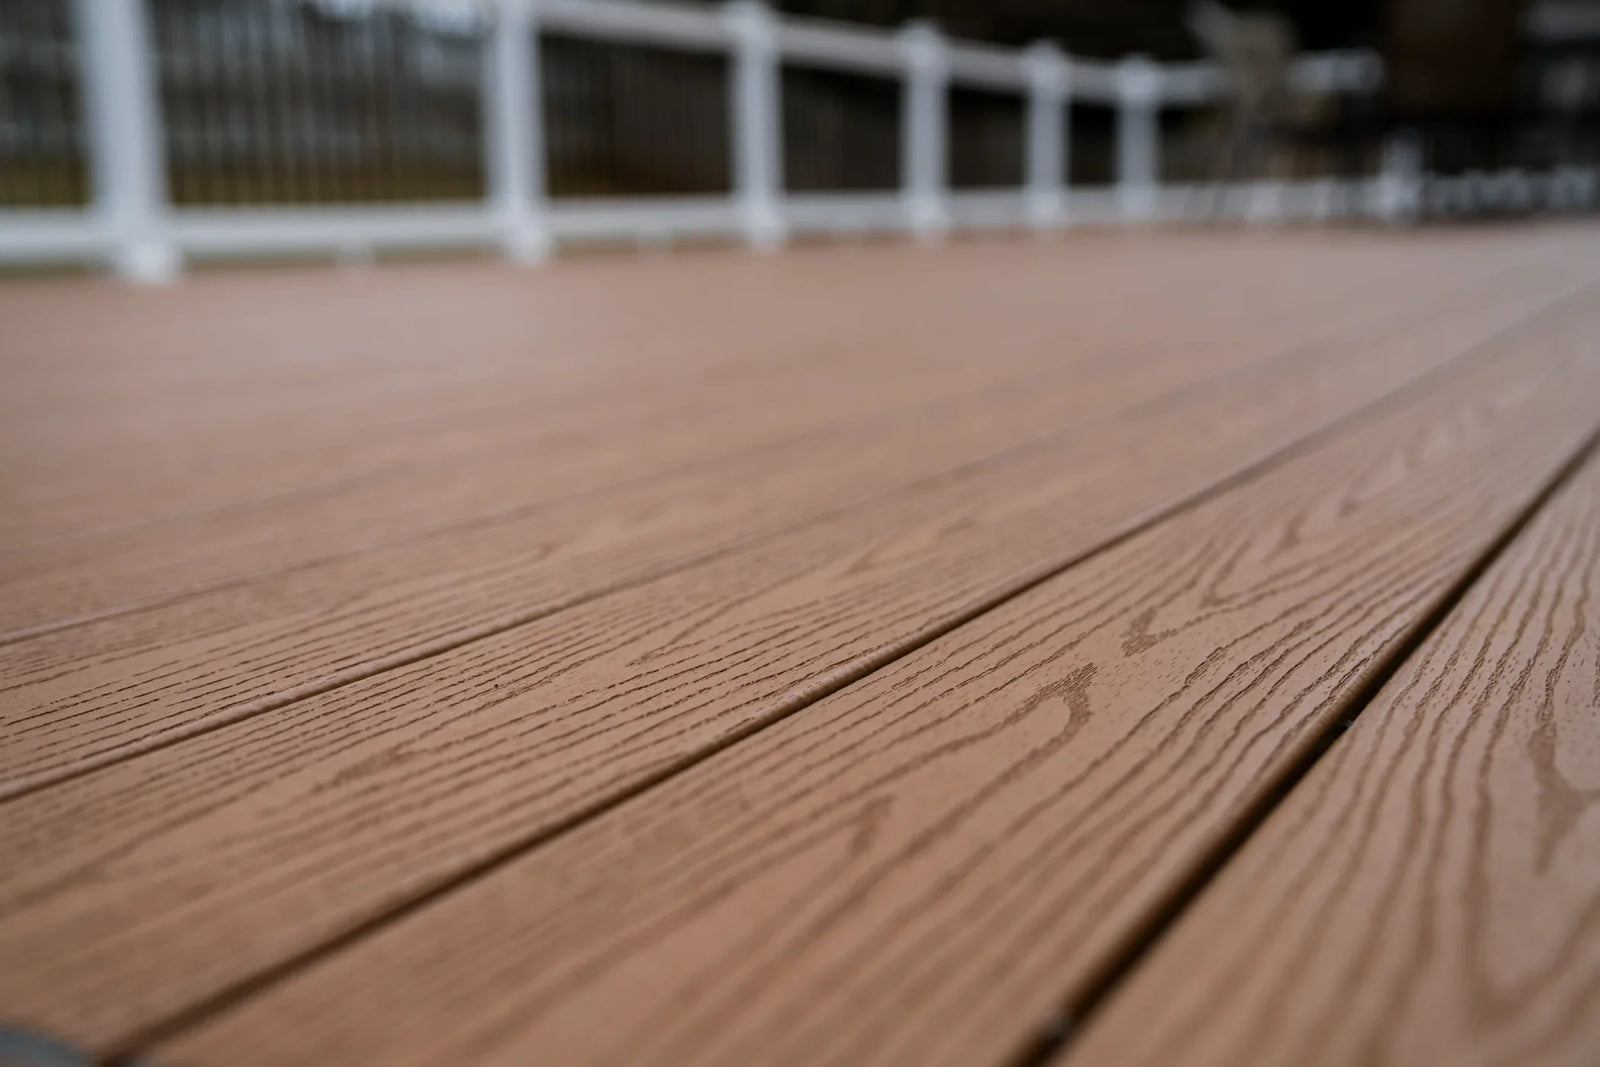
If you’re considering upgrading or building a new deck, choosing the best deck material for snow is a smart move. Composite decking, for example, is an excellent option for snowy climates, as it’s resistant to moisture, rot, and insects.
- Composite deck boards are designed to withstand extreme temperatures, making them ideal for cold weather.
- They require minimal maintenance and do not need sealing or staining.
- Composite decking offers the look of natural wood without the risk of splitting or warping in harsh winter weather.When you choose a weather-resistant material, you’ll have less work to do each winter, and your deck will last longer.
8. Keep a Regular Winter Maintenance Routine
Winterizing your deck isn’t a one-and-done process. To keep your deck in top condition throughout the season, create a winter maintenance routine that works for you.
- Sweep snow off regularly, especially after heavy snowfall, to reduce weight on the deck.
- Monitor your deck for signs of ice buildup, and remove ice safely to avoid slips.
- Check deck furniture and covers periodically to ensure they’re secure and holding up to the elements.
Consistent attention to your deck throughout the winter can prevent small issues from turning into bigger problems.
9. Plan for Spring by Making a Checklist
Finally, as you go through the winterizing process, take notes on any repairs or improvements you’d like to make in the spring. Whether it’s applying a fresh coat of sealant, replacing damaged boards, or adding new accessories, having a list ready will make your spring maintenance easier.
Inspired by This Design?
Shop the Look!
TimberTech Legacy Decking
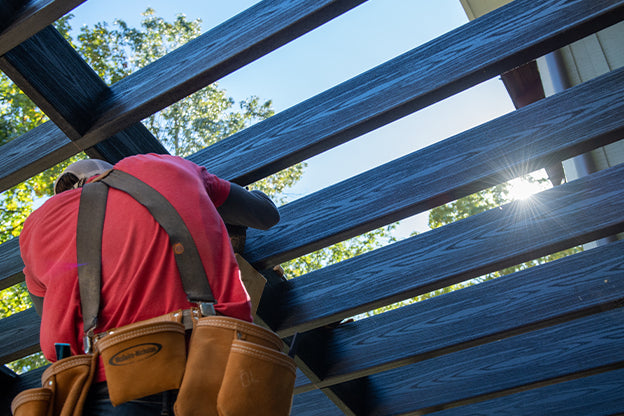
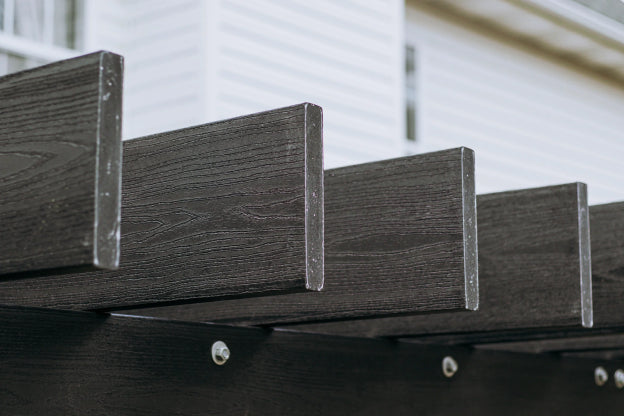
Enjoy the look of real wood with hand-scraped composite boards—no sanding, staining, or sealing required.
TimberTech Lighted Island Cap
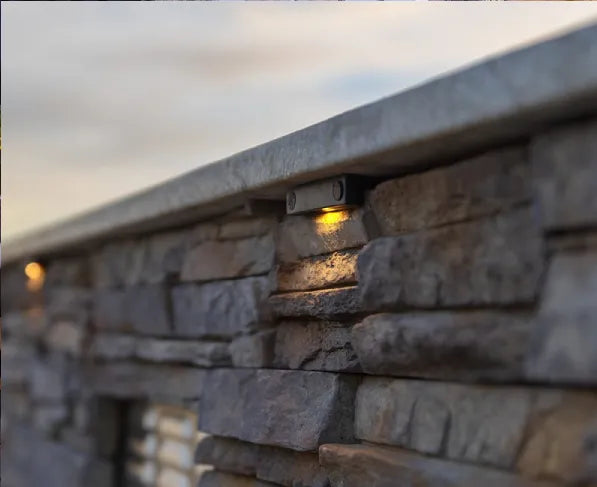
Create a cozy, ambient atmosphere with lighted island caps that softly illuminate your deck.
TimberTech RadianceRail Kit
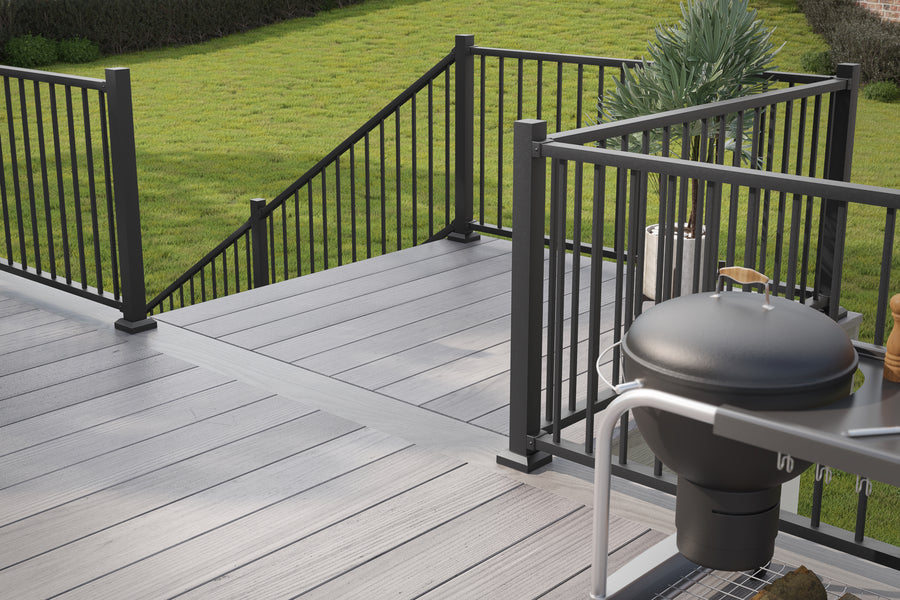
Personalize your outdoor space with TimberTech composite railing—built for lasting durability.
Wrapping Up Your Winter Deck Prep
Winterizing your deck is simple with the right approach. By taking these steps, you can protect it from the wear and tear of cold weather, ice, and snow, ensuring it stays in great condition all winter season.For premium decking materials and accessories, explore what The Deck Store has to offer. Keep your deck safe, sturdy, and ready to enjoy all winter long.
 This item ships for FREE!
